The Renkforce RF100 3D printer was one of the first 3D printers that could be purchased in Germany from the electronics store Conrad. Despite the severe limitations of this device, many people found their way into the scene with it.
The print bed is unheated and is very small at a realistically usable 8×8 cm, the travel paths are bumpy and the stepper motors are loud. There is no component cooler and the heat management at the hotend is catastrophic.
I was given a printer like this as a gift and wanted to modify it so that it could print small parts in parallel with other printers, similar to Creality Ender 2.
The first thing I did was to tackle the unheated print bed. Based on very good experience, I wanted to print on a glass plate. Instead of a heating plate or heating foil, however, I had the ambition to make the heating bed completely myself from resistance wire.


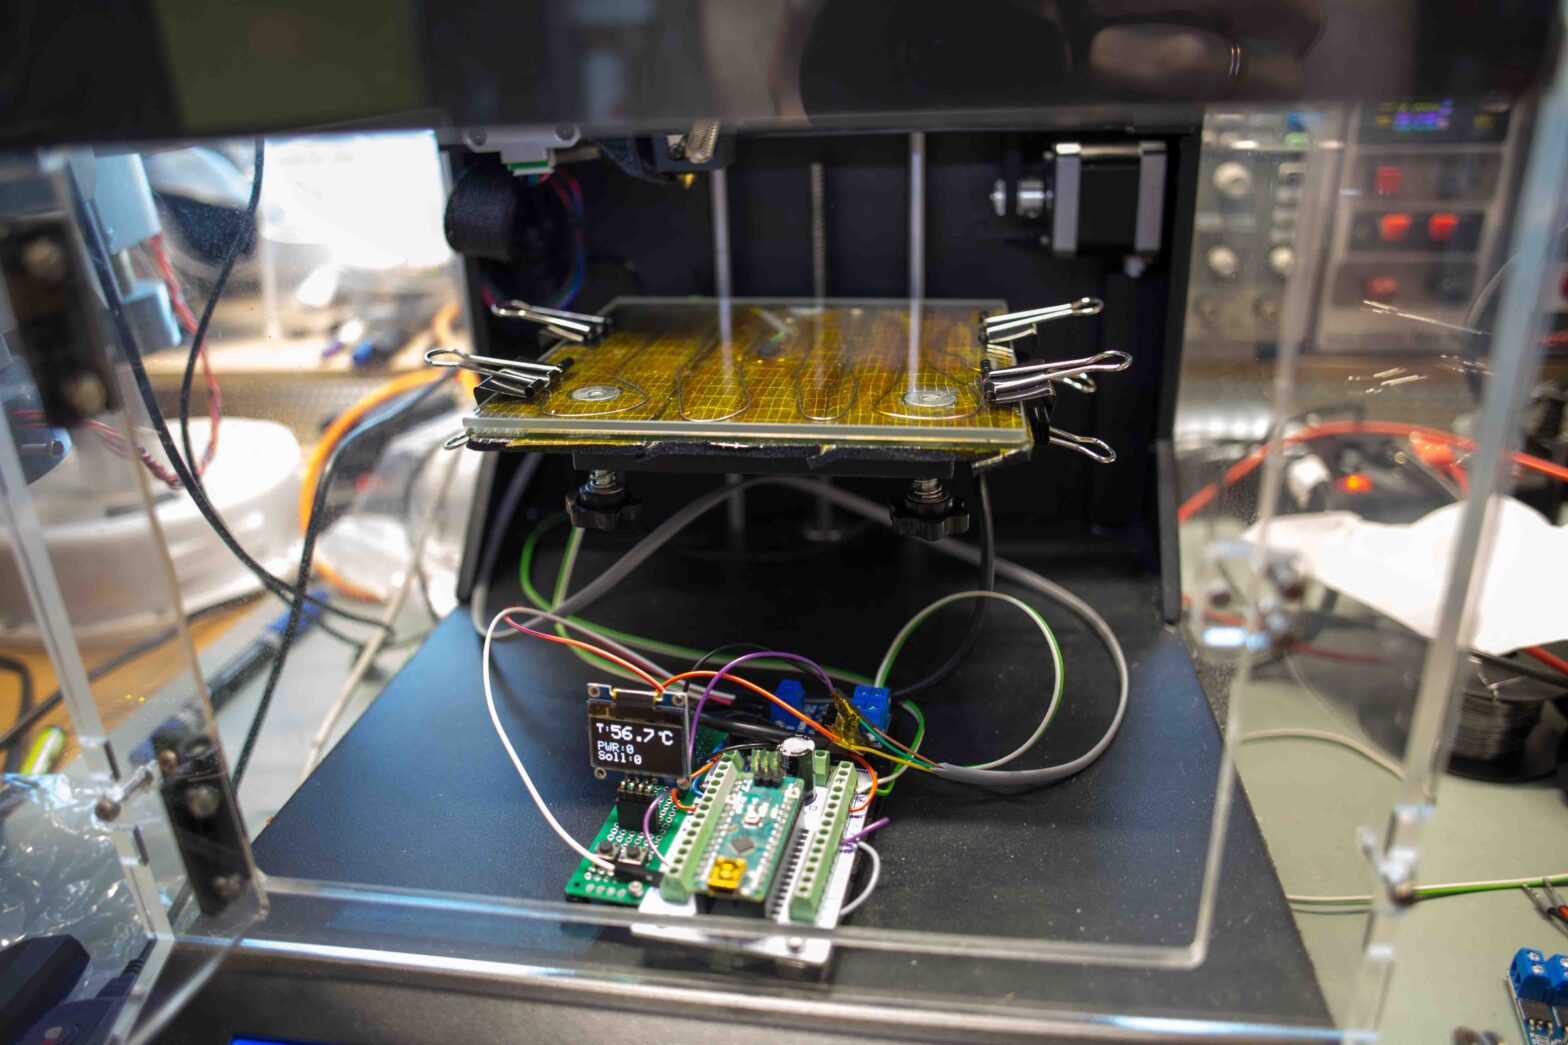
I used Kantal wire with a thickness of 0.7 mm and a resistance of 3.51 Ω/m as the resistance wire. I laid this in loops over the original print bed of the RF100 and fixed it with Kapton tape. I used a Dallas 18B20 temperature sensor whose speed and accuracy are perfectly adequate for this application. I glued 5 mm self-adhesive Armaflex over the layers of Kapton and sensor for insulation. I placed a thick borosilicate plate on the original print bed to distribute the heat evenly.
I improvised the control in the first version with an Arduino Nano and MOSFETs. This amplifies the analog PWM signal of the Arduino and thus limits the voltage and current of the heating bed. I used an old 19 V plug-in power supply from an old laptop as the voltage source. At 19 V, 3.51 Ω/m corresponds to 5.41 A/m.


I roughly estimated 75 W as the heating power for the small area to enable a quick bake-out. I shortened the resistance wire to 74 cm for this. Resistance wire cannot be soldered, which is why the connection ends have to be crimped, e.g. with wire end ferrules.
After printing, the print bed moves all the way down, controlled by the slicer software, and activates a switch that gives the Arduino the signal that printing is complete and the heating can be switched off.
List of Material
Kapton Tape
https://amzn.to/3OXdThQ
Resistance Wire
https://www.distrelec.de/de/widerstandsdraht-mm-51-ohm-kanthal-030280-kanthal-7mmo-36m/p/16080372
Dallas 18B20 temperature sensor
https://amzn.to/49rCFP8
MOSFET
https://amzn.to/3wtir9j
Arduino Nano
https://amzn.to/3wtir9j